What you'll need for each fire ball:
- One 4" clear plastic ornament from Dollar Tree with the removable top
- Approximately 4 sticks of hot glue (I use the minis and they're short, any kind will work though)
- 1 balloon light like this (affiliate link)
- Yellow tissue paper
- Red, yellow, and gold spray paint
- Narrow elastic
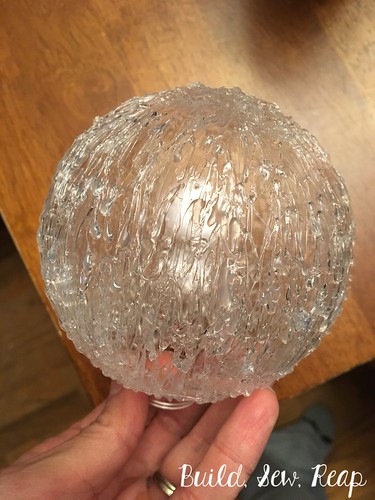
First, scribble hot glue all over the ornament. It took me several times around as I learned (the hard way) not to stay in one spot for too long as the glue will melt the ornament plastic. I just scribbled up and down in messy rows from the top to the bottom. I liked this method as it was fast and more precision was not necessary. Allow that to cool.
Now, please forgive me for not taking pictures along the way with my spray painting technique but it was dark and I was in a hurry to get these cranked out. You can play around with your technique but here's how I achieved the look I got.
1 - Spray the whole thing lightly with yellow spray paint.
2 - Spray from the open end to about the mid point with red spray paint. Again, we're not going for a solid coat but enough to tell it's now red (but a bit orange because the paint will layer with the yellow coat)
3 - Go back and forth with the yellow and red to achieve a fire-like pattern. Precision is NOT at all necessary.
4 - Lightly spritz over the whole thing with gold. This should just coat the raised parts most likely.
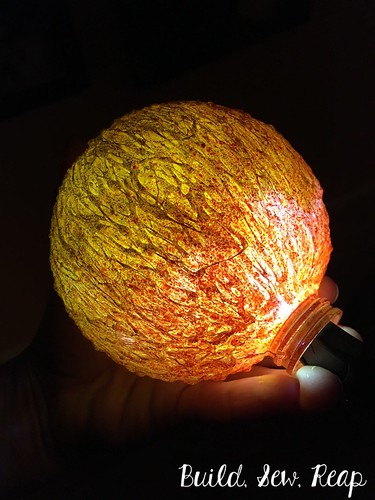
Here's how it turned out for me (yours won't be glowing just yet):
You could also include some orange but I didn't have any orange spray paint when I did these so I worked without.
Rip up a sheet of yellow tissue paper into pieces about 4"x4" (just rip them, don't measure). Crumple them up loosely and stuff them inside the opening. This will help diffuse the light (next step) and gives it some more dimension when it's lit up.
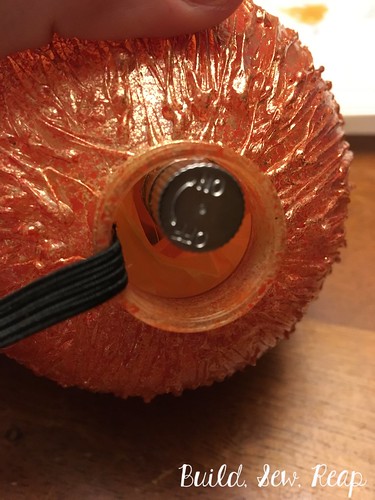
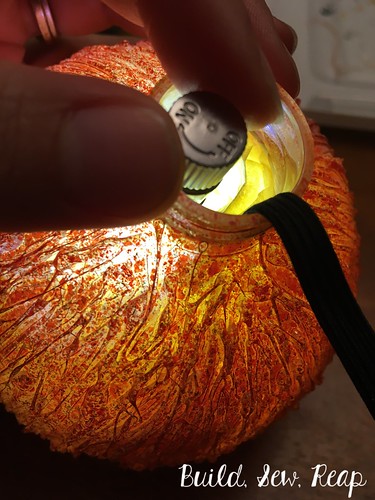
Finally, hot glue one of the mini lights inside the opening leaving a bit of the top exposed so you can turn it on and off. Be very careful no to get hot glue in the part that needs to twist.
(ignore the elastic strap, I had to go back for pictures.
We'll get to that in the next step)
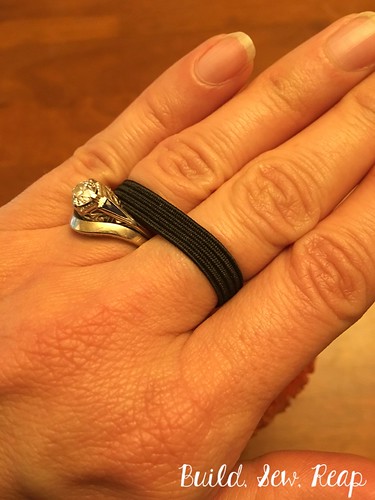
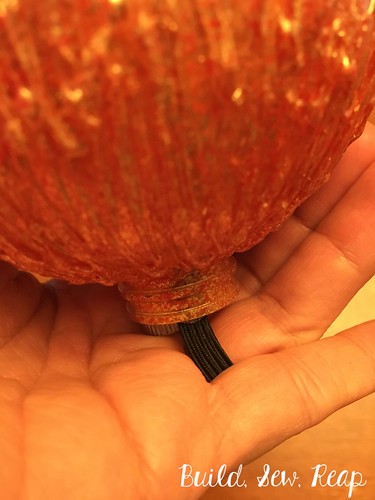
Finally, if you want to mount this to your hand, hot glue a small length of elastic to one side then wrap it around one or two fingers to set the length. Clip elastic to length and glue it to the other side. We like holding it with our ring and middle fingers together. This step is absolutely optional but my kids will be dropping these all over the place if they aren't attached so instead of watching my hard work fall apart, I added elastic.
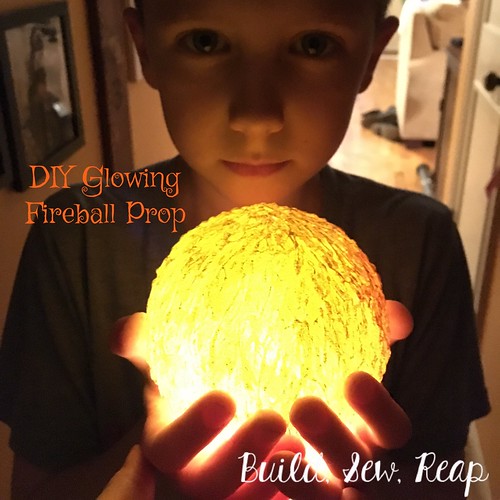
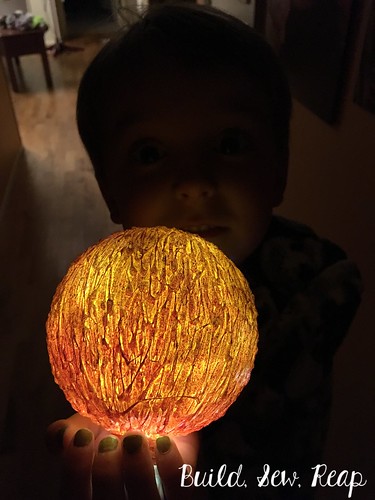
One final pic of the finished product. Here's how it looks in the hand of a ghoulish 5 year old. It's nice and big. I love the 4" ornaments for this.
Just think of the ways you could adapt this project. You could do any color to be simply a glowing orb, you could do blobs with your hot glue instead of the streaks if you wanted a different texture. The ideas are endless .... and inexpensive. Have fun!!
Thank you for reading,
Julie



No comments:
Post a Comment