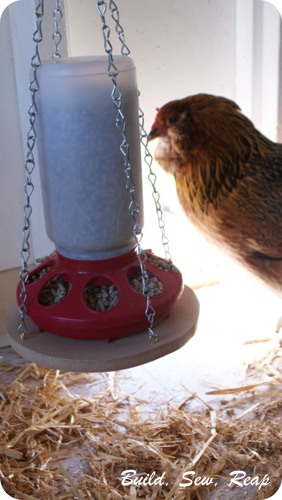
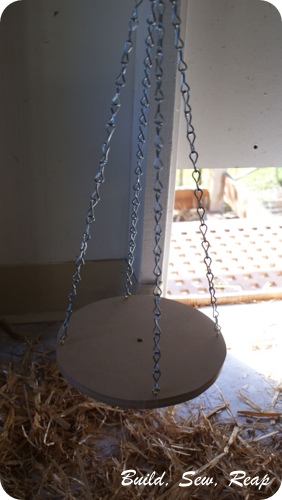
So, what you can see quickly is that there's a wooden disk hanging with four chains hooked to screw-in eyes. Here are the details of this contraption:
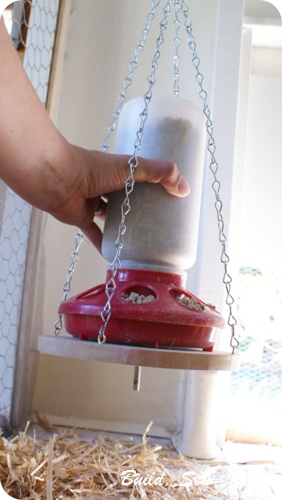
There's a long bolt that sticks through the hanging disk. This bolt does not screw in to the wood, it merely sticks through a drilled hole. This screw is what keeps the feeder from tipping over.
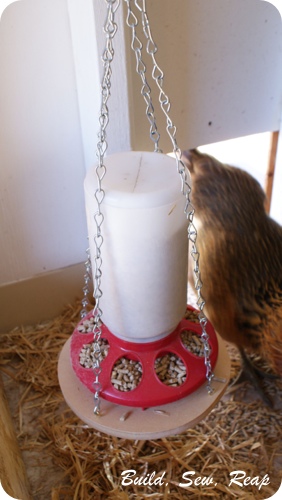
Loading it into place is as easy as lining up the bolt with the hole in the wood and setting the feeder into place.
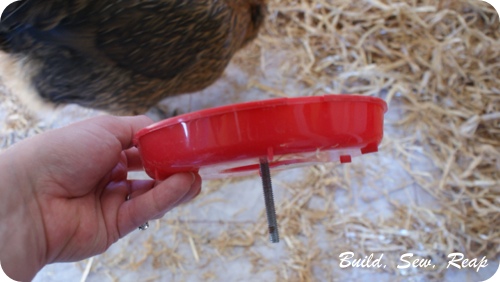
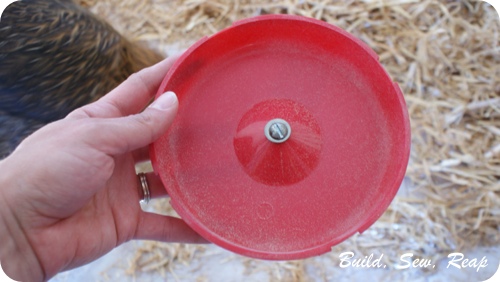
Here's what the base of the feeder looks like all by itself:
I pre drilled the appropriate size hole right in the center of the base of the feeder. I threaded the bolt through that hole with a washer to ensure it wouldn't pull through. I then threaded a nut up from the bottom and tightened it in place underneath.
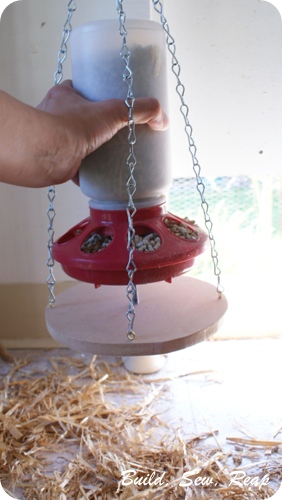
Here's the hanging wood disk:
And here it is all put together again:
This has been in place for several days now and I'm seeing a lot fewer wasted pellets and I'm not constantly annoyed by all the hay they kick onto their feeder (it hangs several inches off the floor of the coop now). As an added bonus, it isn't as accessible to the rat that tried to get to the feeder through the chicken wire. We ran him out and made sure all feed and bedding was safely locked in bins but even if he comes back, he can't get to the feeder.
Thank you for reading,
Julie



This comment has been removed by a blog administrator.
ReplyDeleteThis post is exactly what I need. I'm always confused about the way I feed my chicken. Thanks for your nice sharing.
ReplyDeleteI've just found out that I've feed my chicks in a wrong way.Now I will solve it. Thank you.
ReplyDeleteI received a very well written paper with obvious research done by the writer. I can only say that i am so happy and highly recommend personalstatementwriter.org service. The customer support services were prompt, efficient and friendly.
ReplyDelete