So, I decided to create a tutorial while I altered this shirt so that you too can have the confidence to make a big shirt small. For this tutorial, I'm going to assume that the neck needs to be adjusted as well. Sometimes you won't need to but I figure you can weed out the unnecessary information if that's your situation. So here goes ...
Step 1: Wash and dry the shirt. I use hot water and high heat to make sure I shrink it as much as possible so it won't shrink after the alteration.
Step 2: Find a t-shirt that fits the way you do like. You're going to use this as a pattern.
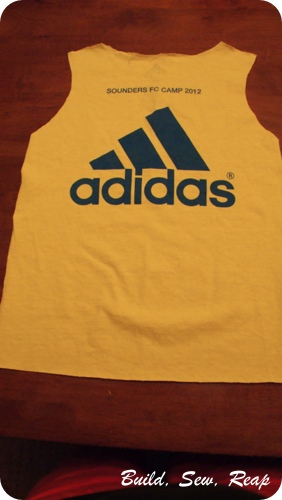
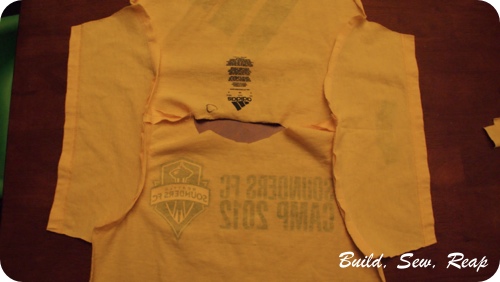
Step 3: Disassemble the shirt.
- Carefully cut off the sleeves. I trim as close to the seam as possible on the sleeve side (not the bodice side) of the seam.
- Cut off the rib knit trim around the neck. I cut as close as possible to the seam on the rib knit side of the seam. You're going to reuse this thin piece of knit so trim carefully.
- Cut the front from the back at the shoulder and side seams. If there are no side seams, just clip where one would be from the armpit to the bottom edge of the shirt.
Step 4: Begin creating your new pieces. Fold the front in half being sure to match up shoulders and armpits (this is where it was good to be careful about your trimming).
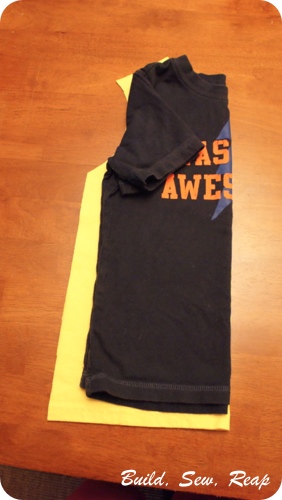
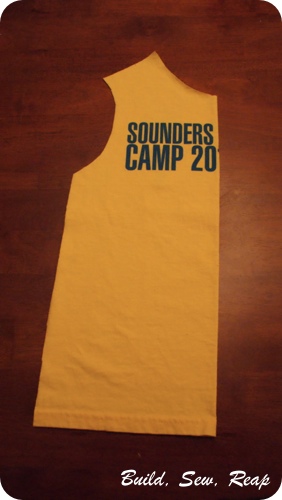
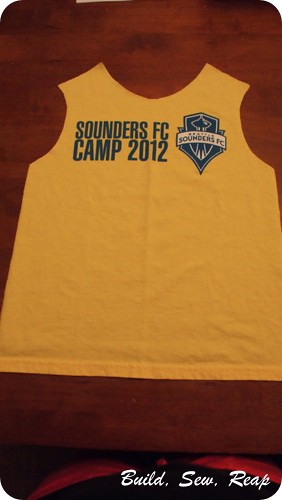
Step 6: Repeat for the back of the shirt.
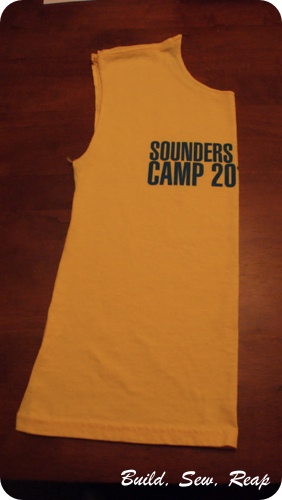
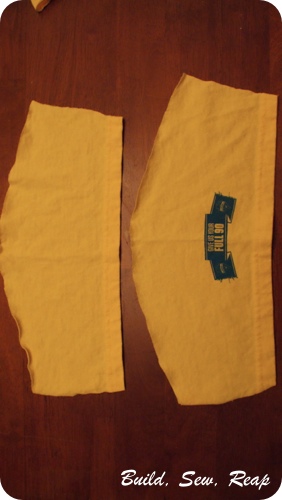
Step 7: Trim the seam from the sleeves. You can adjust the length of the sleeves at this point by mirroring the cut at the top edge of the sleeve (the curved bit) closer to the finished edge as long as there isn't any printing on the sleeve. In my case, I didn't need to shorten them beyond the allotted seam allowance. Don't trim their width at this point. Quite honestly, I have no idea why these appear to be different sizes. I didn't notice it until just now and the shirt fits just fine. Weird. Yours should be the same size.
Step 7: Trim the seam from the sleeves. You can adjust the length of the sleeves at this point by mirroring the cut at the top edge of the sleeve (the curved bit) closer to the finished edge as long as there isn't any printing on the sleeve. In my case, I didn't need to shorten them beyond the allotted seam allowance. Don't trim their width at this point. Quite honestly, I have no idea why these appear to be different sizes. I didn't notice it until just now and the shirt fits just fine. Weird. Yours should be the same size.
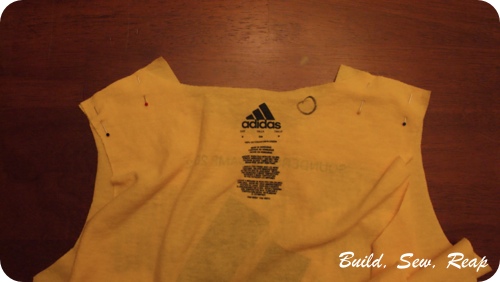
Step 8: Pin and stitch the shoulder seams together. If they don't match up exactly, don't sweat it. They should be close and you can trim the excess from the arm or neck opening.
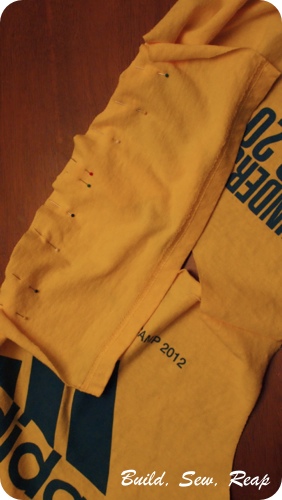
Step 9: Open out the front and back and pin right side of one sleeve to the right side of the front and back. Match up the center of the arc of the sleeve to the shoulder seam. If there is excess in the sleeve once you have it pinned, trim off an even strip from the pinned edge to the finished edge. Repeat on the other side.
Step 10: Stitch as pinned.
Step 11: Pin under arms and sides together and stitch.
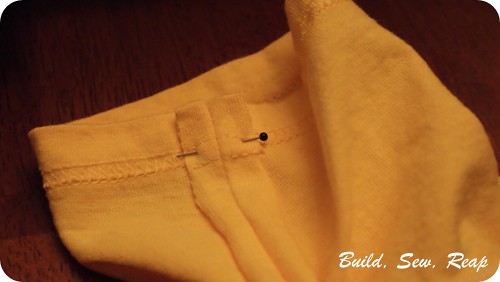
Step 12: If you used the existing finished edge from the original t-shirt, pin and stitch down the seam allowance so they don't stick out at all. If you didn't use the original edge, finish off your edge now by folding it up, pinning it and stitching using a stretch or zigzag stitch.
Step 13: Pin and stitch the bottom edge if necessary. Again, use a stretch or zigzag stitch for this edge.
Step 14: Reattach the rib knit at the neck. (Note: You can also use a piece of scrap fabric from elsewhere on the shirt but it won't be the super stretchy stuff neck edges are usually made of. Make sure you get the stretch going the right direction.) First measure how long it needs to be then clip the piece you took off the original shirt to the right length, open up the fold, pin right sides together and stitch.
This will make the loop that you can then pin to the neck hole of the new shirt. Pin right sides together (neck binding won't likely matter which is right, just make sure that seam is inside the fold and no longer visible at all) and stitch with a stretch or zigzag stitch. Fold the seam allowance to the inside and top stitch it down using a stretch or zigzag stitch once again.
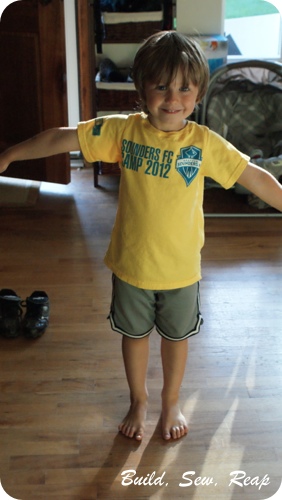
Step 15: Try your new shirt on your little model and enjoy the custom fit!!
He was so thrilled to wake up to find his t-shirt fit him right. That smile made it all worth it too.
Thank you for reading,
Julie





They can also be worn for sporting events such as golf or tennis, and other casual sporting events. They are known to being a "weekend" style shirt by the more buttoned-up buyer. Golf wear for men
ReplyDeleteIf you are someone who uses T-shirts a lot, wear them out frequently or know that your size is not going to change regularly it is a good idea to purchase T-Shirts online because of the great deals that you can get. wholesale t-shirts
ReplyDeleteNice post! This is a very nice blog that I will definitively come back to more times this year! Thanks for informative post.
ReplyDelete한국야동
Thanks for this helpful article. Looking forward to having my portfolio. You can also read some of my great reviews about Best!
ReplyDeleteThis is very useful article. I will connect it back to your site though?
토토사이트
Either way if the company does not offer discounts then there is no benefit to buying in bulk and they are not a wholesale supplier. Off-White Hoodie by Virgil Abloh
ReplyDelete