(sorry it is so grainy, I took a photo of the ticket using my phone and this is all I have of it now)
And here's the ticket I created using basic photo editing software:
If you think you need fancy photo editing software for something like this, you're wrong! I used paintbrush (the image editing that comes with all windows PCs) to do this particular project. It just takes a little patience and creativity.
For extra fun (and to make sure nobody thought we were just sending a graphic photo of the
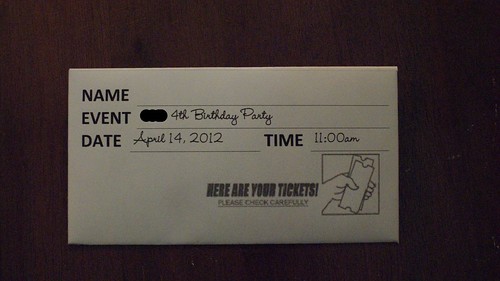
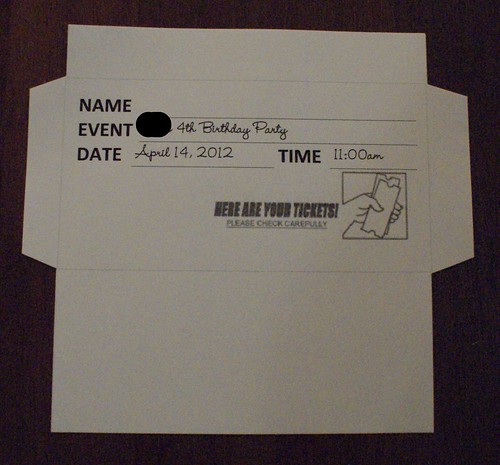
These envelopes were really easy to make. I created a template on my computer, just using MS Word using using a series of boxes with light grey (so they'd print but wouldn't be easy to see if I didn't cut exactly on the lines) borders. Then I cut each one out, mostly using my paper cutter with a few snips with the scissors.
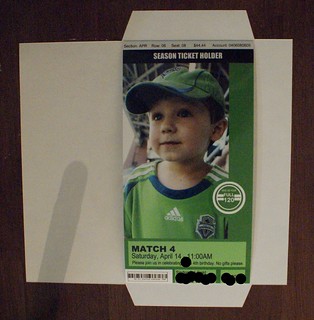
Then I flipped it over, laid a ticket in place.
I folded the side tabs in first.
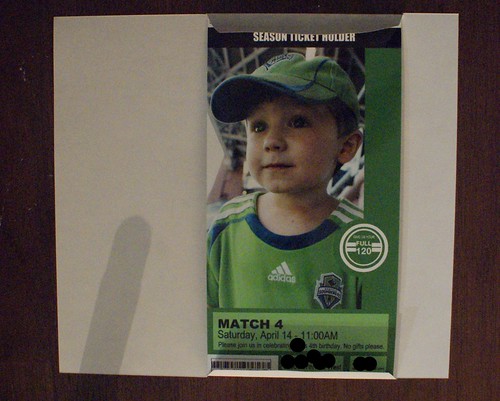
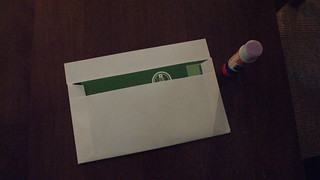
Then folded up the bottom and glued it down to the side tabs (careful not to glue the ticket itself).
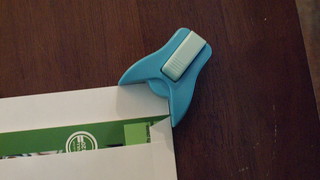
I used my corner clipper to round out both of the corners on the flap.
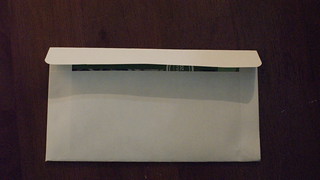
Then folded down the flap.
And that's it, a ticket envelope!!
What kinds of fun invitations have you made? Please feel free to include a link if you've blogged about one.
Thank you for reading,
JulieI'm sharing this post here:



Such a creative Momma! Way to go!!!
ReplyDelete