We love homemade pizza but lately I just haven't always had the energy to make them when we want them. They take quite a bit of planning since the dough takes some time to rise. If I'm not up to making the dough by mid afternoon, homemade pizza is off the menu for the day. Wanting to have pizzas available for after the baby arrives as well as for those days when I don't have the energy to make them, I went in search of a frozen pizza recipe. I still use our favorite crust recipe (which is different from the one I posted awhile back but I'll share it here) but with some prep work, I'm able to create fantastic ready-to-bake frozen pizzas.
THE CRUST
Ingredients:
- 2 tsp rapid-rising dry yeast
- 1 cup warm water
- 2 Tbsp sugar
- 3 1/2 to 4 cups of flour
- 1 Tbsp coarse salt
- 2 Tbsp warm water
- 1/4 cup olive oil
*I use my KitchenAid Mixer with a dough hook and get great results. These instructions assume you've got the same equipment.
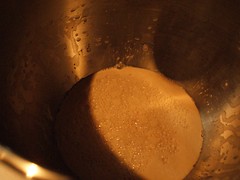
Combine the yeast, warm water and sugar in the bowl of your mixer. Combine well and let it sit for 3-5 minutes until the yeast begins to bubble.
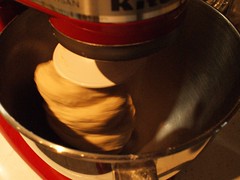
Turn the mixer on low and slowly add the flour to the bowl. Combine the 1Tbsp coarse salt and 2 Tbsp of water in a small bowl (I just use a measuring cup) and add it to the mixer bowl. Pour in 1/4 cup olive oil. When the dough starts to come together, turn the mixer on medium speed and mix until the dough is smooth and elastic (about 10 minutes). Periodically scrape the dough off the hook throughout that 10 minutes.
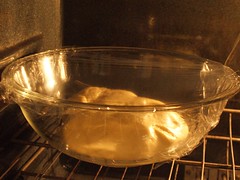
Turn your oven on to low and the light on for just a few minutes. Turn the oven back off again but leave the light on. I've had great luck with this method for rising dough - it gets the oven just warm enough for the yeast to really thrive.
Pour a bit of olive oil into a large bowl - maybe 2 tsp.
Take the dough out of the mixer bowl and knead in your hands a few times then form it into a ball. Roll the ball around in the olive oil until it is coated. Cover the bowl with plastic wrap or a clean dish towel. Place the bowl in the warm oven. The oven light will keep it just the right temperature in there. Let the dough rise until doubled in size - probably 45 minutes to an hour.
Once the dough has risen, take it out of the oven and knead it a few times on a floured surface to mix in the olive oil. If you need to add a dusting of flour, do this now. The dough should be smooth and elastic.
Preheat the oven to 500 degrees.
Roll out the dough to the size of the pizza you want (I use this recipe to make three personal+ pizzas). Place on a nonstick pizza pan or cookie sheet. I think if you use a cookie sheet, you should probably lightly coat the pan with some olive oil and dust it with cornmeal but I haven't tested that out.
Bake the dough on 500 for 3 minutes. Remove from the oven and allow to cool completely. Dress it with your favorite sauce (see the recipe I use below), cheese and toppings.
Wrap it very tightly in plastic wrap, place it in a zipper bag, smooth out all the air and freeze.
When you're ready to reheat the pizza, just preheat the oven to 400, remove the plastic from the pizza and bake the frozen pie for 10-15 minutes.
Ingredients:
1 (6 ounce) can of tomato paste
3 ounces of water (give or take, I just fill the paste can half wayish and call it done)
3 Tbsp grated parmesan cheese
1 tsp minced garlic
3/4 tsp onion powder
1/4 tsp dried oregano
1/4 tsp dried marjoram
1/4 tsp dried basil
1/4 tsp dried rosemary
1/4 tsp ground black pepper
1/8 tsp cayenne pepper
1/8 tsp dried red pepper flakes
1/8 tsp salt
Put it all in a bowl (I use a food storage container) and mix until it is all combined. Cover it and put it in the fridge until the dough is ready. The longer it sits, the better the flavor (well, within reason . . . you don't want it sitting in your fridge for weeks, it will go bad eventually).
Thank you for reading,
Julie


No comments:
Post a Comment