
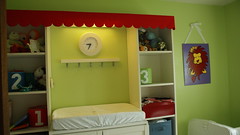
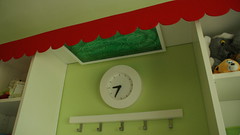
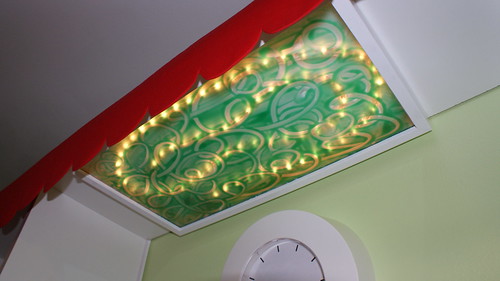
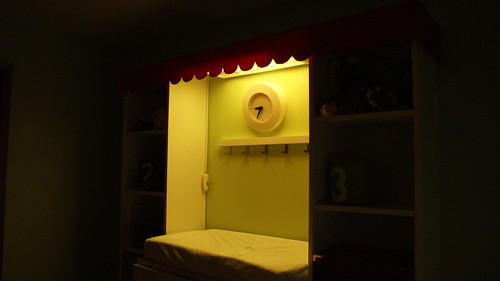
So I started brainstorming and ultimately came up with the PERFECT solution. I'm going to walk you through how to make your very own cheap panel light that you get to decorate yourself. Here's the end product:
First I needed to create a panel so I started with a scrap piece of thin plexiglass I had in our garage. It was in a really cheap wood picture frame I had purchased for a project I never did. I carefully cut the plexiglass with a utility blade so it was the size I needed it to be. If you're not sure how to cut plexiglass, google it, there are lots of suggestions. Mine was super thin so a few passes over it with a new utility blade went right through it.
Next, I taped it down to a protected work surface and set the Snickerdoodle to work decorating it with some finger paints. Finger paints dry a little bit frosty instead of just thick and goopy so I liked that they'd provide a stained glass effect.
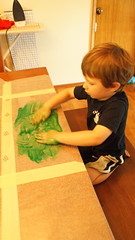
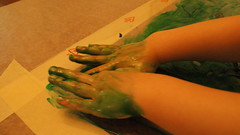
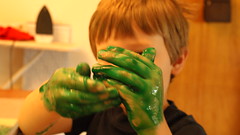
When he was finished smearing around all the paint, I ran my finger through it to add a fun design.
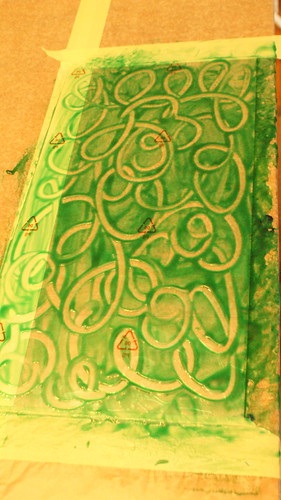
Then we let it dry for about 2 days (lots of paint).
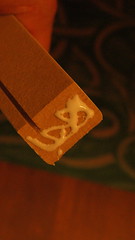
Next I needed to build the mountable frame for the light cover. I had a piece of primed MDF molding on hand left over from another project so I ran that across the table saw blade set about 1/4 inch high. I just wanted to make a grove in it for the plexiglass to slide into. Here it is ready to be cut down to size:
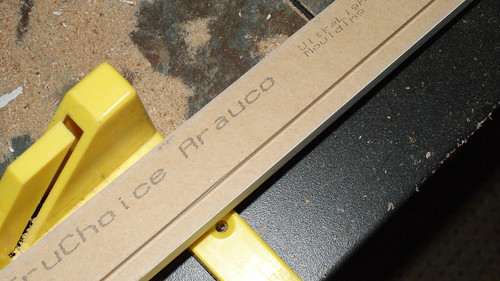
Groovy baby!
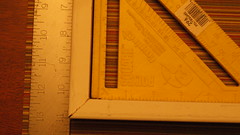
I measured and cut the pieces to size to fit around the plexiglass. I wanted mitered corners because I really like that look and knew it was the best way to use the grove to my advantage.
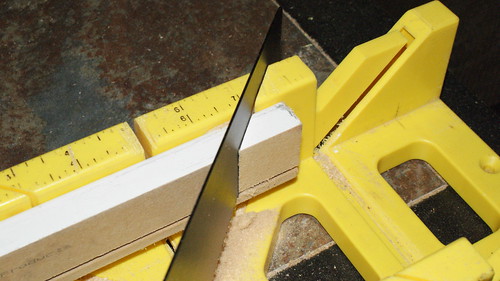
BTW, if you ever do any woodworking, you have to have a miter box like this. The basic angled cuts are all set up in the box so you just line up your wood, slide the saw into the slots and start sawing. You really can't go wrong.
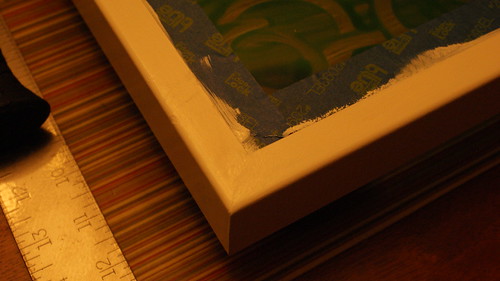
When you've got all 4 pieces, glue them together and use a square to make sure they're straight. Make sure you slide your plexiglass in before you put on the last piece. I also used painters tape to hold the pieces together until the glue set:

If you have an air nailer, this is a great time to use it. I shot 2 nails into each end to make it extra strong. If you don't, you'll probably want to let the glue dry then carefully hand tap some brads into each corner.
Next, I used wood filler to fill in the nail holes and the seams at each corner (OK, busted, my wood filler was dried solid so I used spackle).
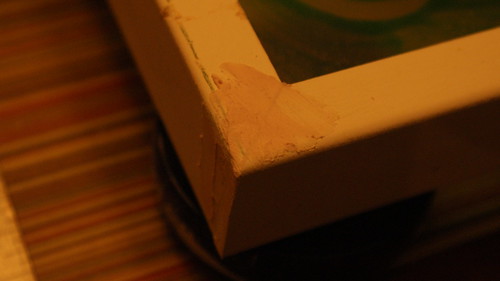
I let that dry then sanded it smooth and painted 2 coats of white semi-gloss paint over it.
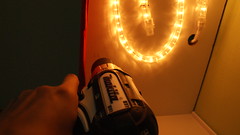
This was a 2 part project, I also had to mount a light behind the panel which I did before hanging it of course. I used a short rope light ($6 at Home Depot) which I ran through the top (1 inch drilled hole) and mounted in a squiggly pattern.

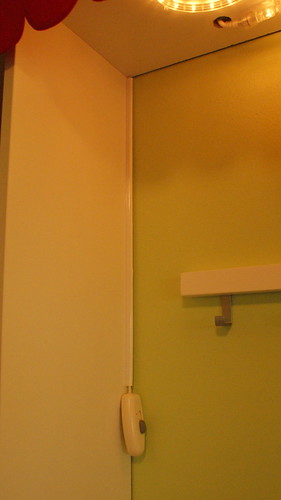
I also ran an extension cord up behind the left bookcase and attached a Dimma cord to it all which I then ran back down the inside of the changing table area so we could easily reach it.
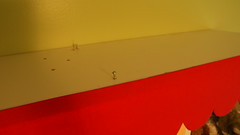
To mount the panel box over the rope light, I marked where to pre-drill then set 4 screws in those holes.
Then I held the panel in place with one hand and finished screwing those screws down into the frame of the panel. I don't have a picture of this step though - I only have 2 hands and needed them both and Snickerdoodle can't yet be trusted with the big fancy camera.
In the end, I have diffused dimmable light with a cool pattern for the baby to look at. I remember lots of late night diaper changes with Snickerdoodle and we were really thankful for a dim light over his changing table although it wasn't nearly this cool.

I had some other ideas about how to decorate the panel including patterned contact paper or fabric on the plexiglass. Either one of those would have probably blocked out seeing the rope light behind the scenes but I really wanted to include the big brother to be in the project so I sacrificed that "perfect look" for the opportunity to get him in on something. The nice thing about the rope lights is that they don't really get warm and I think whatever warmth they do create can escape out the hole for the cord through so how you decorate your panel is really limitless.
Thank you for reading,
Julie


Wow...that looks great!
ReplyDelete