Today we popped into Staples for something and saw a bag of mini blocks in the dollar bins. I grabbed them and cranked out a super simple project O is already enjoying. As much as he would enjoy just plain blocks, I wanted to add some letters to them. Here's a quick tutorial on making your own wooden letter blocks.
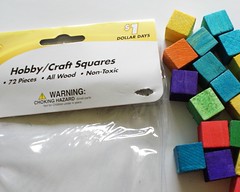
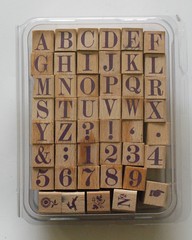
Start with some blocks, some appropriately sized rubber stamps and a stamp pad:
I liked that the wooden blocks we found were already fun colors and came in a bag of 72. I figured out that meant I had 432 surfaces to stamp (ugh). Based on that, I decided to stamp each letter 10 times, each number 3 times and each punctuation a bunch of times (my math got sloppier as I went along). Then in the end, I went back and added about 5 more of each vowel.
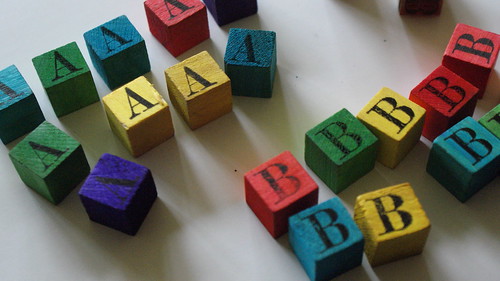
Start stamping:
Stamp some more:
And keep at it long after your fingers start to hurt:
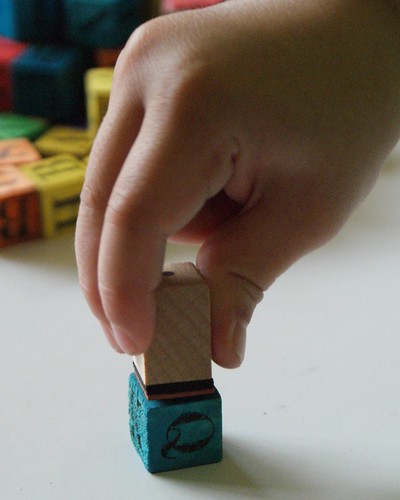
Enlist some child labor if you have to:
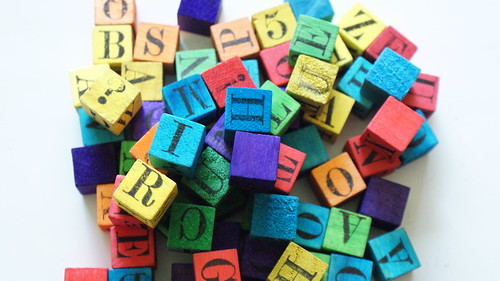
Then sit back and enjoy your creation:
Oh, and I suppose if you're feeling generous, let your kid(s) play with them too.
Thank you for reading,
Julie
Other posts you might be interested in:
The Quiet Book
Gifts From the Craft Drawer




It's not always a good idea to let go of your illnesses, especially when it comes to mental health, and so you're lucky to have an online Calmerry platform with different types of therapies and therapists to help you.
ReplyDelete