At the risk of my dad reading this blog post and it blowing the surprise of his gift, I'm going to post about this anyway. You see, I hate it when I see gifts too late to actually create them so I thought I'd post this with hopes that maybe it'll spark some creativity if you're still struggling to figure out what to make for the special fathers in your life.
This one is for my dad and it's from me and O. O calls his grandpa Paw Paw so we made some cool photo blocks for him. I'll show you what we did here with a tutorial.
Materials:
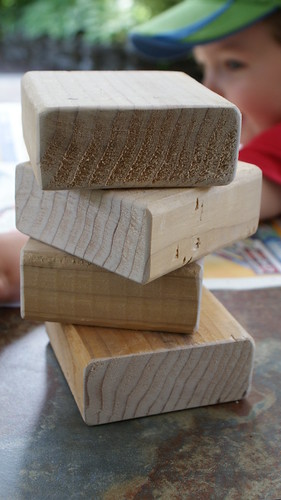
Scrap wood cut to squares - I cut some scrap 2x4s into 7 squares
Sand paper
Paint / paint brushes
Photos of your child holding appropriate letters
Background papers
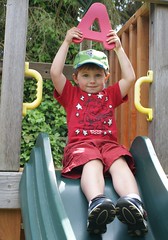
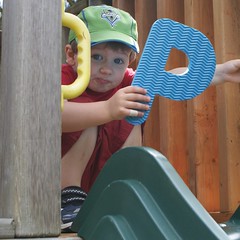
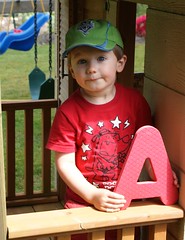
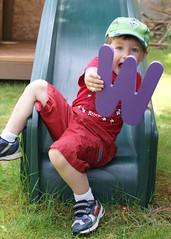
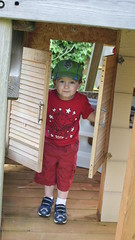
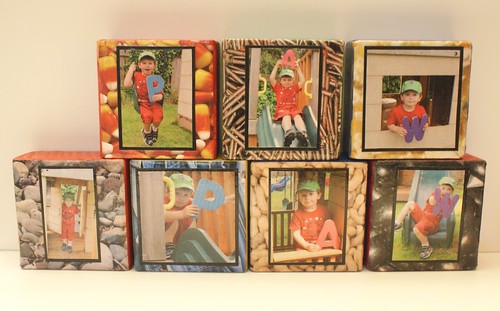
I took O out to the playset my dad put together for him with the letters "P", "A", and "W" from his foam puzzle mat and took a bunch of pictures of him goofin' around. If you don't have letters like this, you could also print them on cardstock.
These are my 7 favorite photos:
Then while the hubs treated O to a fantastic swing ride to thank him for his modeling talents, I cut the squares out of scrap 2x4s from our wood pile. I also sanded all the edges to round them out a bit and to make sure there wouldn't be any splinters.
As you can see, I didn't sand out all the imperfections, I think that's part of the charm of this project.
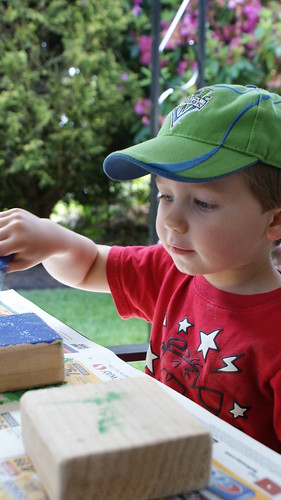
I set O to work painting the blocks on all but one side (where the picture would go). He opted to paint each one a solid color. We just used regular poster paints for this part.
He's a pretty thorough painter who uses a lot of paint so we left these out to dry for a few hours.
Once they were dry enough to handle, I brought them inside and began embellishing the side you can't see in the above picture (the side with no paint on it). I didn't take pictures throughout this part because it was really just basic Mod Podge with some custom paper.
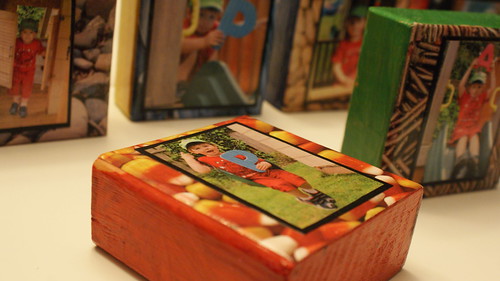
I printed out 7 pictures of things that remind me of my dad (popcorn, peanuts, nails, overalls, black jelly beans, river rocks and candy corn). I found the pictures through google images and printed them on regular paper using the best quality setting on my printer. I made sure each picture was at least 4x4 so I had room to trim them to the right size. I cut them to fit the fronts of the blocks then used Mod Podge to stick them down ensuring the edges were really well secured.
Next I printed out the pictures of O so that each picture was no larger than 2.8 x 2.8, trimmed them down and mounted them on black paper to give each picture a small border of black. I glued this down to the special paper from the last step (if this isn't making sense, scroll down for the final product pictures).
I let everything dry over night then this morning I covered all sides with a coat of glossy Mod Podge. Then throughout the day I added at least 4 more layers of it to the front to ensure the picture was well coated. The end product looks great and O said he can't wait to play with these with his Paw Paw.
Just think, you could spell out anything you want with your blocks. This project wasn't overly time consuming, in fact, it felt just right to me. It wasn't rushed but there was no point that I was cursing that I took it on (like so many projects I get myself into). I'm so excited for him to open these on Father's Day, I just know he's going to love having 7 new photos of his grandson and I'm sure he'll also look forward to playing with them with O next time we visit.
Thank you for reading,
Julie
Other posts you might be interested in:
Mini Alphabet Blocks
The Quiet Book
Jar Lanterns






Aw, that is SO sweet! I love it!! Great last minute gift. :D
ReplyDeleteAdorable! Thanks for sharing over at Calling all Crafters!
ReplyDelete